This is how I made my clamshells, a very basic way to prep applique which works for me! There may be some people who don't know about this technique so I'm documenting how I go about it.
 This is a fat quarter from my stash and you can see that I've used part of it. I'd like to use it up so its prime fabric for any scrap quilting projects!
 Also in the photo is a pigma pen but you could use any kind of marker or pencil you like to draw around the template. Important - I'm using heat resistant template material. I've traced my clamshell template from Kaffe Fassett's Museum Quilts book. It includes the 1/4 inch seam allowances around all edges. If I were to do this again, I might draft my own template because I don't think that my template is an exact copy. In fact, I know it isn't.
 I choose to draw around the template on the reverse side of the fabric. For this particular quilt, I will need 4 clamshell templates of each fabric I use for each diamond except for the very middle shell. There are 49 clamshells in each diamond.
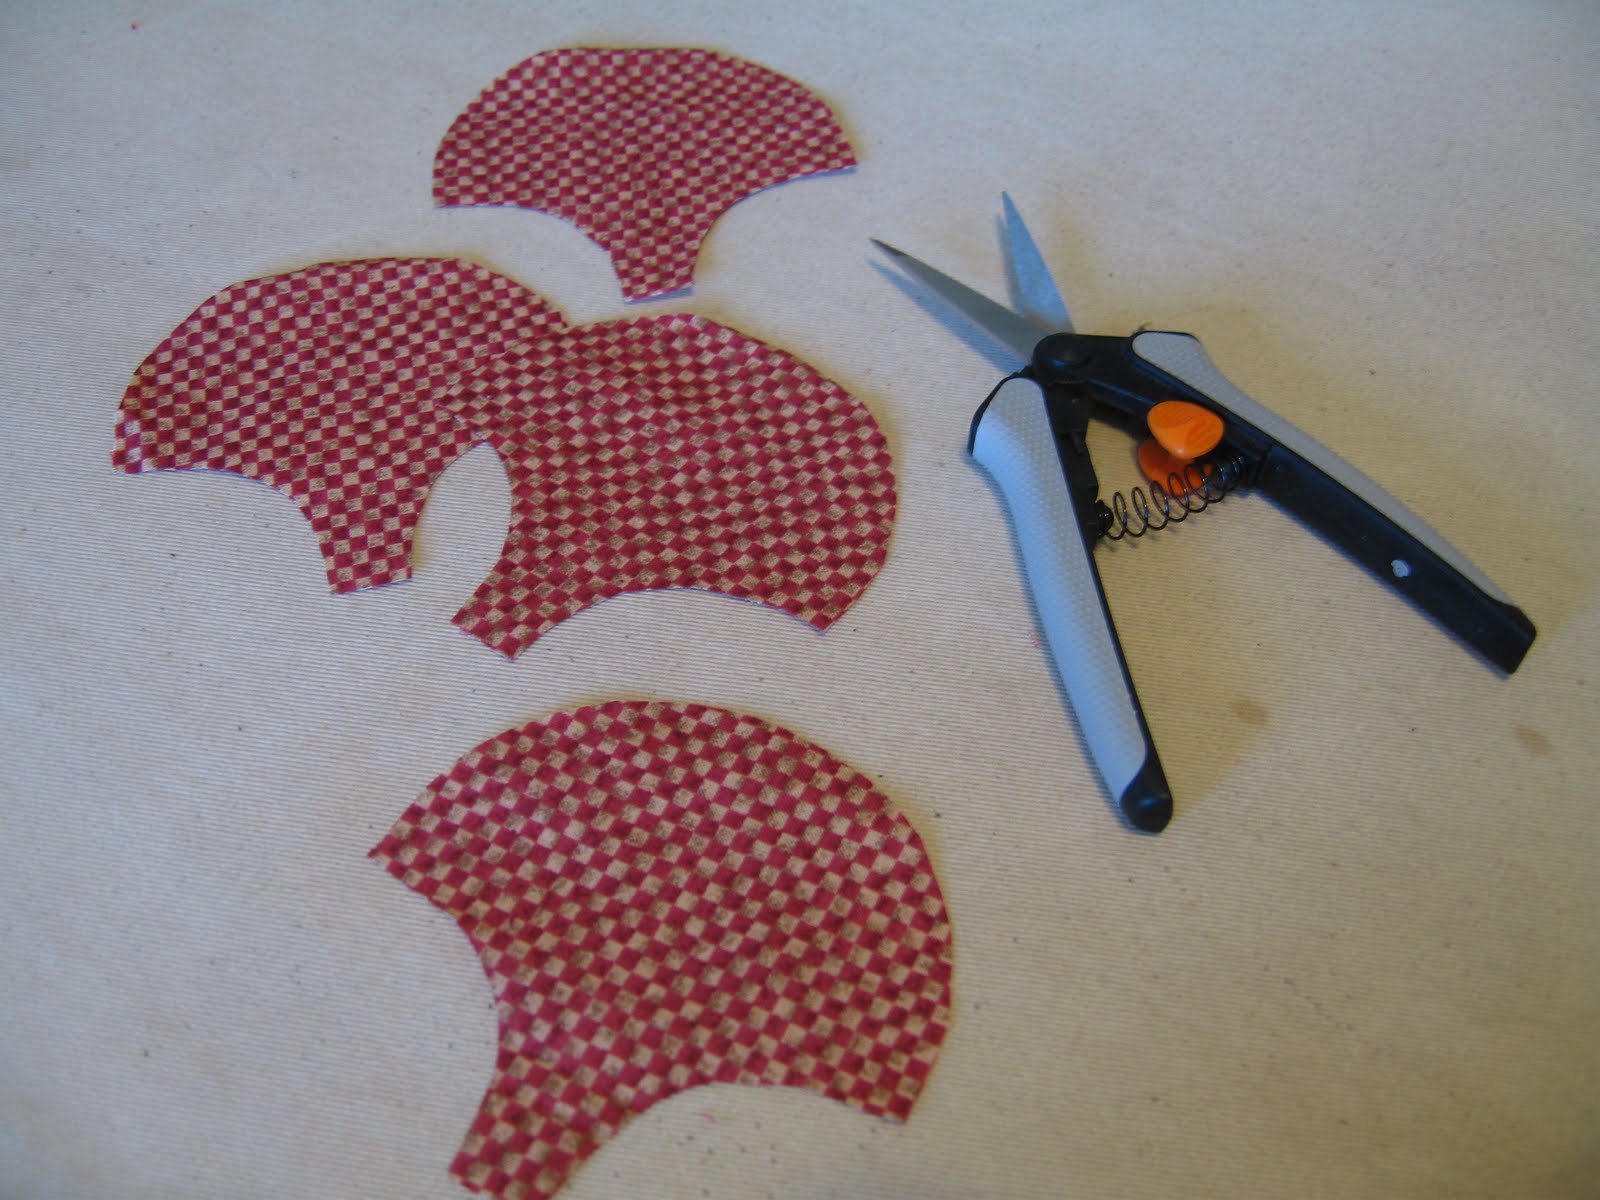
Here they are cut out. Its an easy project to do in the evenings.

After the clamshells are cut out, I sew a basting stitch around the top of the shell about 1/8 inch away from the edge. For the next step, I spray some spray starch into the lid of the starch can and allow it to bubble down. You will also need to make a finished size clamshell template.

Here's the clamshell with the finished size template laid on top. Again, its important the template be heat resistant. The blue line on the template transferred from the pigma pen ink I used to mark the fabric. This may not happen to you and it would probably be better if it didn't!
I carefully eyeball the template into the "correct" position. If I were to remake the template, I would make only the rounded curve on top the finished size. This would help keep the size more accurate and help with layout of the clamshells.
 Next, I pull up the basting stitch to fit the curve of the clamshell and swab the edge with the spray starch using a Q-tip. Then lightly press with an hot iron. Careful about your fingers! Heat resistant template material can still get very hot.
 Here's the finished product.
 If I want this to be a bed size quilt, I will need 1226 clamshells according to the instructions. I find I can prep about 100 a day before my back starts to hurt! Of course, the 100 a day means no interruptions, no laundry, cooking or phone calls, etc.
I've begun stitching together the first diamond but there's another step in the process that I'll show you next time!
5 comments:
Mayleen - you are so good about sharing this information. I am still trying to figure out what next (I'm very impatient). I need to know all the steps before I try something. Then I let it (the information) play in my brain for a few days until I know I can do what I set out to do.
Hugs - Marie
1226 - oh my!
thanks for sharing the process, I had no idea how you were prepping them.
Thanks for explaining !!
Hi, there, welcome to clamshelling! Check the other blogs from the club too, there's a wealth of process information there. Looking forward to seeing yours made into diamonds! I have a few bright selvages (I aim for a 2-inch cut but sometimes it's a little less); email me your address and I'll send them out to you!
Its on my list of things to do, probably way down on the list though. thanks for explaining it. Looks quite involved.
Post a Comment