Translate

Sunday, December 12, 2010

Merry Christmas!

... Or perhaps a better title to this blog post would be,
"What have I been doing instead of blogging for nearly a month?"

Life seemed to get a little busy just before Thanksgiving. My husband was quite unexpectedly hospitalized with Atrial Fibrillation, no past history of heart issues. He's now on medication and doing much better. The day after he came home from the hospital, I received a letter from my doctor telling me I needed a repeat mammogram. Thank you to all of you who were praying for me, the second mammogram was clear! Since then there have been several more routine end of the year appointments to keep us busy.

Unfortunately, I haven't had much time to sew/quilt. In fact, yesterday was the first time I'd been able to sew in over 3 weeks. With the help of my family, I finally finished decorating for Christmas today. The picture above was taken in our entryway. I purchased the Drunkard's Path quilt but did make the table runner. I'm in the process of writing notes for Christmas cards, have done a little baking and the shopping is almost done so perhaps I'm making progress!

I'll blog again soon about the snail's pace progress I'm making on the clamshells and the selvage quilt. And, I'd like to share some special Christmas decorations and memories. Be back soon!

Sunday, November 14, 2010

Selvage Quilt update

I'm working on my selvage quilt blocks again. This is a photo of a block I put together to show some women who have given me selvages. No one could imagine what a spiderweb quilt made with selvages would look like!
Each block uses 8 subunits and there are usually 8-10 selvages in each subunit.

After working off and on sewing selvages together into subunits, I only have enough subunits to make almost 9 blocks. Obviously, I have to make more time for this quilt as I'd still like to make it a throw or twin size. If I stopped now it would only be about 45x45 or if I still wanted a throw or twin size, I'd have to add really wide borders!

Monday, November 8, 2010

Want to see one of my P.I.G.S.?

OK, not this kind of pig! Sorry, I found this photo on the internet and just couldn't resist.

Here is one of my P.I.G.S. (Project In a Grocery Sack) Of course, someone might argue its really a Flimsie, which it is, but since its also not finished I'm calling it one of my P.I.G.S. Its been laying on an antique washstand in our bedroom for years because I haven't gotten around to having it machine quilted. One clue why it isn't quilted yet is that I dislike sewing together backings for large quilts. You can see the backing fabric under the quilt top in the photo.

I've always wanted to take beautiful photos of quilts hanging on a wash line gently blowing in the breeze. As you can see, its just a little too breezy in Kansas this morning. By the way, we're expecting winds of 20-30 miles per hour today which is not terrible but since its so dry, the fire risk is high.

Here's a photo of the quilt top taken inside. Its a large queen size and I'd originally thought of using this on our bed which probably will still happen if I ever get it to a machine quilter. I've been saving the border fabric for years and finally used most of it on this quilt.


A few more photos of the scrappy nine patches. Some of the fabric was old when I made the quilt. All of it is older now!


This past week I spent quite a bit of time at the hospital with my mother. She's back at her home but between the two of us, we have enough appointments to keep us busy! Thanksgiving seems to be right around the corner too. Its looking like I won't reach my goal of finishing all the full clamshell diamonds this month but that's OK. I'll check back in when I've actually accomplished some quilting!

Monday, November 1, 2010

Clamshell Update

This was my first month working on the clamshells and here's my progress!

I have finished appliqueing 5 of the clamshell diamonds, 2 more of the diamonds are glue basted and another 2 more ready to be glue basted. As you can see, this is going to be a very bright quilt! I may name this quilt "Myriad Gardens" so I'm trying to think of each diamond as a garden. A little blue for water perhaps in the form of a fountain, bird bath or pond, some brown and green for trees, shrubs and grasses and some color for flowers. Some of the gardens have more attitude than others!

Sometimes its been difficult to use both my older fabrics and the contemporary fabrics. They might look OK together but don't have the ZING I think is needed. I'll soon need to cut more clamshells and am seeing which fabrics work better than others in this quilt.

This past weekend, my husband and I took a quick trip to Illinois to see his family. I was hoping to get more of the handwork done in the car but I quickly discovered how difficult it is to make tiny stitches in traffic! Threading a needle was a challenge too so I was only able to work on it during the evenings. I'm happy with my progress though and hope to finish or come close to finishing the full diamonds during November. Next will be the half diamonds and corners but at this point, I'm trying not to think about how much handwork is left to do!

Monday, October 25, 2010

Yes, you need a grid

The next very important step for putting the clamshells together is one I probably would have ignored if I hadn't read the other clamshell blogs! You most definitely need a grid or some other way of keeping your clamshells straight and spaced evenly whether you intend to put them together in a straight row or another shape.

Some of the bloggers are using a fabric grid but after reading Journey of a Quilter's blog post about her grid drawn on paper, I decided to try it. I taped sheets of copy paper together to make a large enough grid for my diamond shape and started drawing lines. I'm not sure I can easily explain the lines but perhaps you can figure it out from my photos and her post.


Here I'm laying out my first clamshell diamond. Notice that not all the clamshells have turned out the same size so the grid is very important to keep them aligned. See the glue dots? I'm using a fabric glue to baste the clamshells together until I applique around each one. Just a word of warning, do not put too much glue on because it does seep through the fabric! Luckily, I had covered my paper grid with contact paper so its not sticking to the clamshells.


These are the first two diamonds on my design wall. I try out colors together until I'm "satisfied" and then transfer them to the grid to be glued together. I enjoy playing with the colors but working in my old fabrics has been frustrating sometimes. As my daughter said, "Somehow it all works together!"

These two diamonds have been hand appliqued together and more in the works!

Thursday, October 21, 2010

Prepping clamshells the beginners way

This is how I made my clamshells, a very basic way to prep applique which works for me! There may be some people who don't know about this technique so I'm documenting how I go about it.

This is a fat quarter from my stash and you can see that I've used part of it. I'd like to use it up so its prime fabric for any scrap quilting projects!

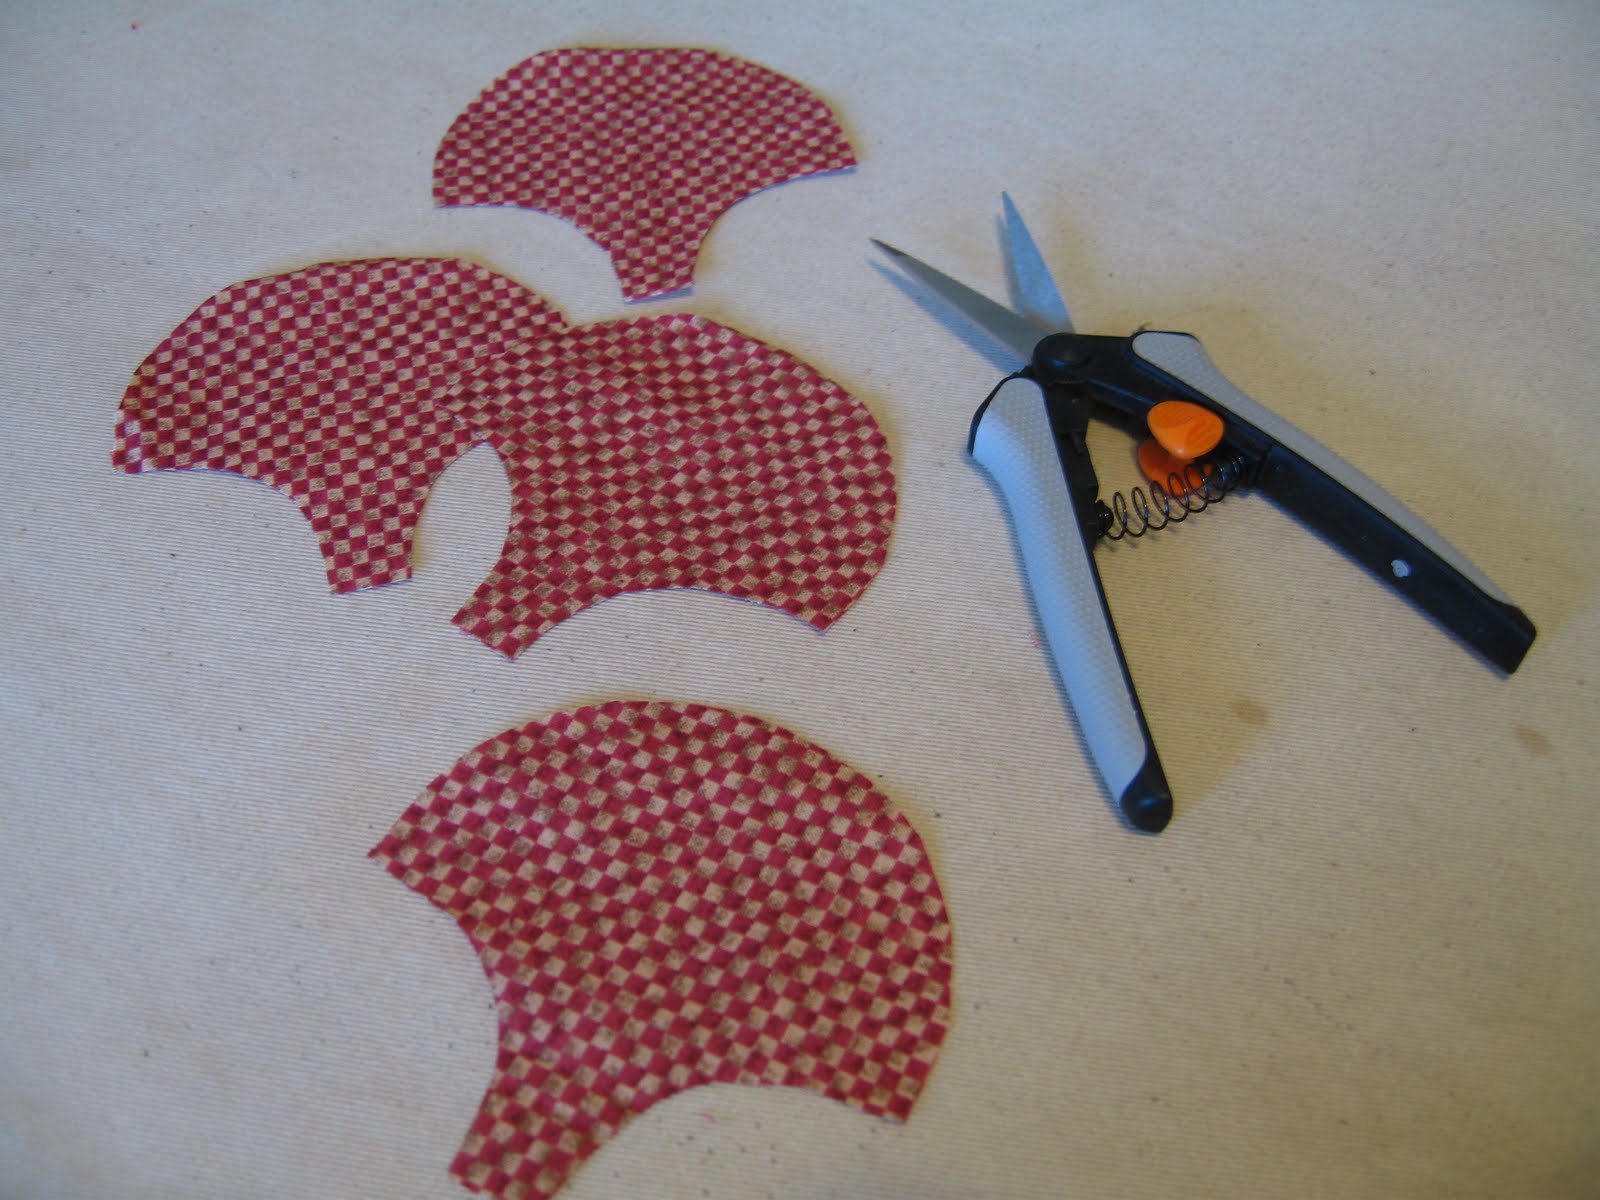
Also in the photo is a pigma pen but you could use any kind of marker or pencil you like to draw around the template. Important - I'm using heat resistant template material. I've traced my clamshell template from Kaffe Fassett's Museum Quilts book. It includes the 1/4 inch seam allowances around all edges. If I were to do this again, I might draft my own template because I don't think that my template is an exact copy. In fact, I know it isn't.

I choose to draw around the template on the reverse side of the fabric. For this particular quilt, I will need 4 clamshell templates of each fabric I use for each diamond except for the very middle shell. There are 49 clamshells in each diamond.


Here they are cut out. Its an easy project to do in the evenings.


After the clamshells are cut out, I sew a basting stitch around the top of the shell about 1/8 inch away from the edge. For the next step, I spray some spray starch into the lid of the starch can and allow it to bubble down. You will also need to make a finished size clamshell template.


Here's the clamshell with the finished size template laid on top. Again, its important the template be heat resistant. The blue line on the template transferred from the pigma pen ink I used to mark the fabric. This may not happen to you and it would probably be better if it didn't!

I carefully eyeball the template into the "correct" position. If I were to remake the template, I would make only the rounded curve on top the finished size. This would help keep the size more accurate and help with layout of the clamshells.

Next, I pull up the basting stitch to fit the curve of the clamshell and swab the edge with the spray starch using a Q-tip. Then lightly press with an hot iron. Careful about your fingers! Heat resistant template material can still get very hot.

Here's the finished product.

If I want this to be a bed size quilt, I will need 1226 clamshells according to the instructions. I find I can prep about 100 a day before my back starts to hurt! Of course, the 100 a day means no interruptions, no laundry, cooking or phone calls, etc.

I've begun stitching together the first diamond but there's another step in the process that I'll show you next time!

Sunday, October 17, 2010

A clamming I will go!

I'm not even sure where or when I purchased Kaffe Fassett's Museum Quilts book but I'm sure I bought it because of the colors of the quilt on the front cover! This has been one of those quilts that will not go away and I've finally given in. I'm going to make it or maybe I should say, try to make it! He calls this a "challenging quilt" which should tell me something, shouldn't it?!?


My version will be made from both my stash of the past 30 years and from contemporary fabrics some of which are Kaffe Fassett fabrics. When I first saw his fabrics, I thought they were so ugly! I was especially turned off by the cabbage and roses fabric. Ugh. BTW, fat quarters of both the yellow and purple color ways of this fabric are now in my posession. I've decided I like the intensity of the colors. I'm not sure yet how well they will play with the dusty rose and sunflower fabrics from my crafting days!

I've been busy cutting out clamshells and preparing them for putting together the diamonds. Because I took the "Process Pledge", I've decided to take you along on this journey so my next post will show you how I've been preparing the clamshells.

I've made over 700 of them so far so please (!) don't tell me I've done it wrong! I still need to make around 500 more but I've decided to start putting together the diamonds first. Does the amount of time spent on making something with that many pieces scare you? I found this quote on Journey of a Quilter's blog.

"Don't let the fear of the time it will take to accomplish
something stand in the way of your doing it. The time will
pass anyway; we might just as well put that passing time to
the best possible use."
- Earl Nightingale

To help keep me motivated and encouraged, I've joined the Clamshell Club a group of bloggers working on clamshell projects! If you'd like to see our progress, click on the button in the upper right hand column. Click again on the end of the month updates (top of the page) to see a list of bloggers who are sharing what they've accomplished on their projects.

Spiderweb Selvage Quilt update - I've found some wider bright selvages so I can make more blocks! I'd really like to finish this top before Christmas.